
Table of Contents
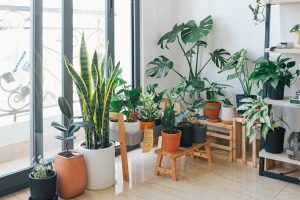
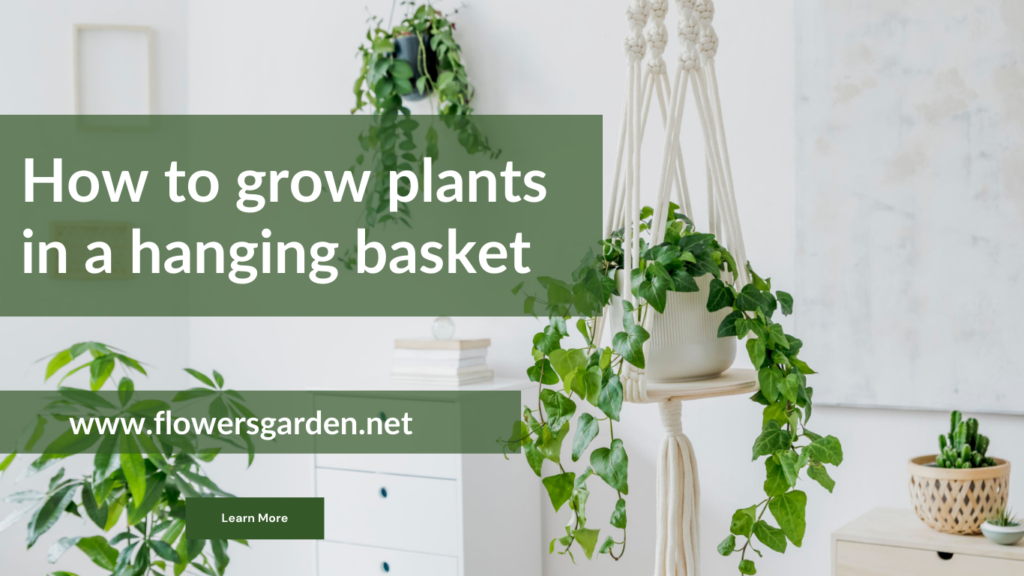
Hanging baskets are one of my favorite ways to use an empty corner. They’re not only pretty but they can also be used to decorate any room in your home — from dining rooms to bedrooms.
A few years ago I had a friend over whose house was decorated entirely with plants—it looked lovely! It inspired me to start collecting some more that would work well as a centerpiece or accent piece. So now I have several baskets filled with winter-flowering plants that are all on display around my apartment. This year, I decided it was time to take out some of those old ones and replace them with new arrivals. Here’s what you need to know about selecting and finishing hanging baskets this season.
When to plant a hanging basket?
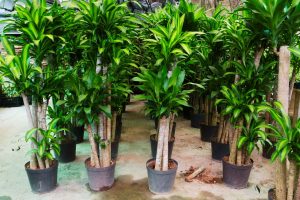
Most people assume that because hanging baskets are usually planted at ground level they should be planted during the warmer months. But that doesn’t mean they can’t be placed indoors when the weather gets colder. In fact, one of my baskets is currently sitting in my bedroom window sill where temperatures get quite cold. Hanging baskets will thrive just fine in cooler climates as long as there is adequate light. Just make sure to keep the soil moist and never let it dry completely. Also, if you live somewhere very humid or tropical, consider placing your basket outdoors or on a raised surface so that the roots don’t sit in water. If you do choose to place it outside, remember that some plants may require special care. For example, orchids are delicate plants that shouldn’t be exposed to excessive moisture or windy conditions. There are many types of indoor/outdoor baskets available these days that are specifically designed for outdoor growing needs. You can even find mini versions that look like miniature planters.
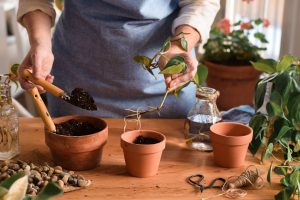
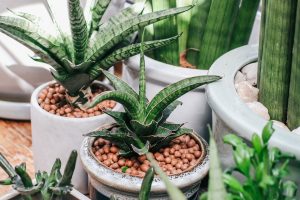
If you decide to buy a container to grow your own flowers, make sure that it has drainage holes (usually found under the rim), and be careful not to overwater. Too much water can rot the roots and lead to rotting stems.
Watering systems
There are two main types of watering systems: traditional drip irrigation and reservoir. Drip irrigation is often preferred by gardeners who want to control their watering schedule. Water slowly drips through tiny perforations into the root ball of the plant. As the water reaches the roots, it spreads across them evenly, which prevents root damage. Reservoir systems allow you to maintain consistent moisture levels in the potting mix using a water source such as a pump. The advantage here is that you don’t have to worry about the placement of each individual hole.
You might still prefer to install your own system if you think your existing pots are too small. A good rule of thumb is to add 20% more water than the size of the root ball. That way you won’t run out of space. When deciding how much water to give your plants, pay attention to the type of pot you purchased. Most containers come with instructions on how much water to provide based on the size of the rootball, but it’s always best to check before filling up your basket again.
I recommend buying a large bucket that you can fill with fresh, clean water once every couple of weeks. One trick I learned is to leave the lid off while the water sits inside. After a day or two, remove the lid and wait until the water begins to evaporate. Then refill the bucket with fresh tap water and repeat the process.
Lining
Before you purchase any plants, ask yourself whether or not you want to line your basket(s) first. Lining allows you to create borders and separate certain areas within your arrangement. Without lining, everything is mixed together. Some people say that lining isn’t necessary, but I disagree. What happens is that the plants begin to lean towards the side of the basket that receives the most sunlight. With no lines separating the different colors, you end up with a haphazard looking arrangement. By lining your baskets, you have a chance to create beautiful focal points that complement your décor.
Some people even go as far as to lay down fabric linings before planting. These linings act as a barrier between the dirt and the roots. They are particularly useful when growing flowering plants near other potted plants. If you’re interested in doing this step, make sure to follow the instructions provided by the manufacturer closely. Otherwise, you could end up damaging the roots.
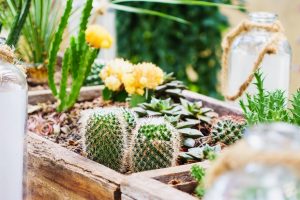
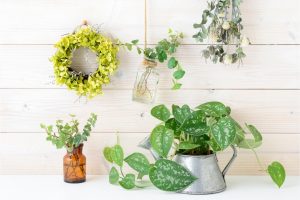
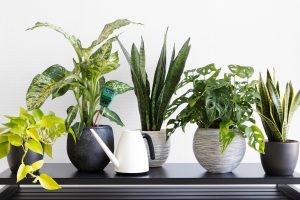
Choosing and arranging the plants
Once you’ve selected your plants, arrange them according to your design. Look for symmetry, balance, color contrast, and interesting shapes. Try to avoid overcrowding. When choosing your plants, make sure to select varieties that bloom at various times throughout the season.
With the right amount of spacing, you can achieve a natural flow that looks great without being overwhelming. Remember to include plenty of open air space between rows.
Plants that produce large blooms such as roses benefit greatly from having smaller leaves surrounding them. On the contrary, leafless plants tend to look better when surrounded by foliage.
It’s important to note that sometimes certain species can become invasive. Before purchasing anything, research its habits so you can keep your arrangements safe.
Finishing touches
Now that you’ve got your basket lined and prepped, it’s time to finish things off. Depending on your preferences, you can either focus on adding decorative elements to your baskets or simply leaving them alone. If you’d rather not mess with them, try focusing on the overall presentation instead. Focus on creating a finished product that complements your surroundings.
In addition to keeping an eye on watering schedules, watch out for diseases and pests. Check on your plants regularly and inspect for signs of mold, insects, fungus, etc. Take action immediately if you see something amiss.
For example, if you notice little black bugs crawling around your plants, squash them with your fingers or spray them with pesticide. If you suspect that your plants are diseased, consult a professional ASAP.
If you’re feeling creative, why not incorporate some of your personal style into the project? Pick a theme and play around with it, mixing and matching plants that work with your palette.
And lastly, enjoy!